
Aero testing
Until now there have been several ways to carry out aero testing – the main types being wind tunnel, velodrome and field testing. All these methods have their own strengths and weaknesses, none are perfect and all of them are expensive and time consuming.
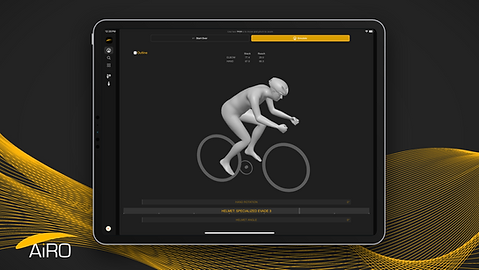
I've chosen to use a new type of aero testing that has become available thanks to advancements in technology and especially Ai. This latest method is called AiRO and is effectively CFD (computational fluid dynamics) modelling brought to the mass market. AiRO makes aero testing much more affordable and much less stress than travelling to a venue and/or praying for good weather to test outside.

Step #1
Create a 3D model of yourself
Using only photos and some key measurements, we're able to create a virtual model of your body using AiRO's software.
Step #2
Model your current bike position
We start by recreating your current position which will become the 'baseline'. From here we can make tweaks to position as well as virtually testing multiple helmets loaded onto the system.


Step #3
Run the simulation
Once we're happy with the setup we can run our first simulation to work out your rider CdA. While the simulation is running we can go back and make tweaks to the position for our first variation.
Step #4
Digest the report
A full report is emailed to you comparing all the runs we simulated. Savings can be seen as wattage gains or time savings over your goal distance – whatever is easiest to comprehend.